Here are my favorite posts from each month of 2012, leave me a comment and let me know your favorites.
January
http://kath-allthatscrap.blogspot.com/2012/01/apothecary-art.html

February
http://kath-allthatscrap.blogspot.com/2012/02/sale-bration-card.html
 March
March
http://kath-allthatscrap.blogspot.com/2012/03/happiest-birthday-wishes.html
 April
April
http://kath-allthatscrap.blogspot.com/2012/04/love-sympathy.html
 May
May
http://kath-allthatscrap.blogspot.com/2012/05/angry-bird-gift-bag.html
 June
June
http://kath-allthatscrap.blogspot.com/2012/06/another-summer-afternoon.html
 July
July
http://kath-allthatscrap.blogspot.com/2012/07/serene-silhouettes-stampin-llama-card.html

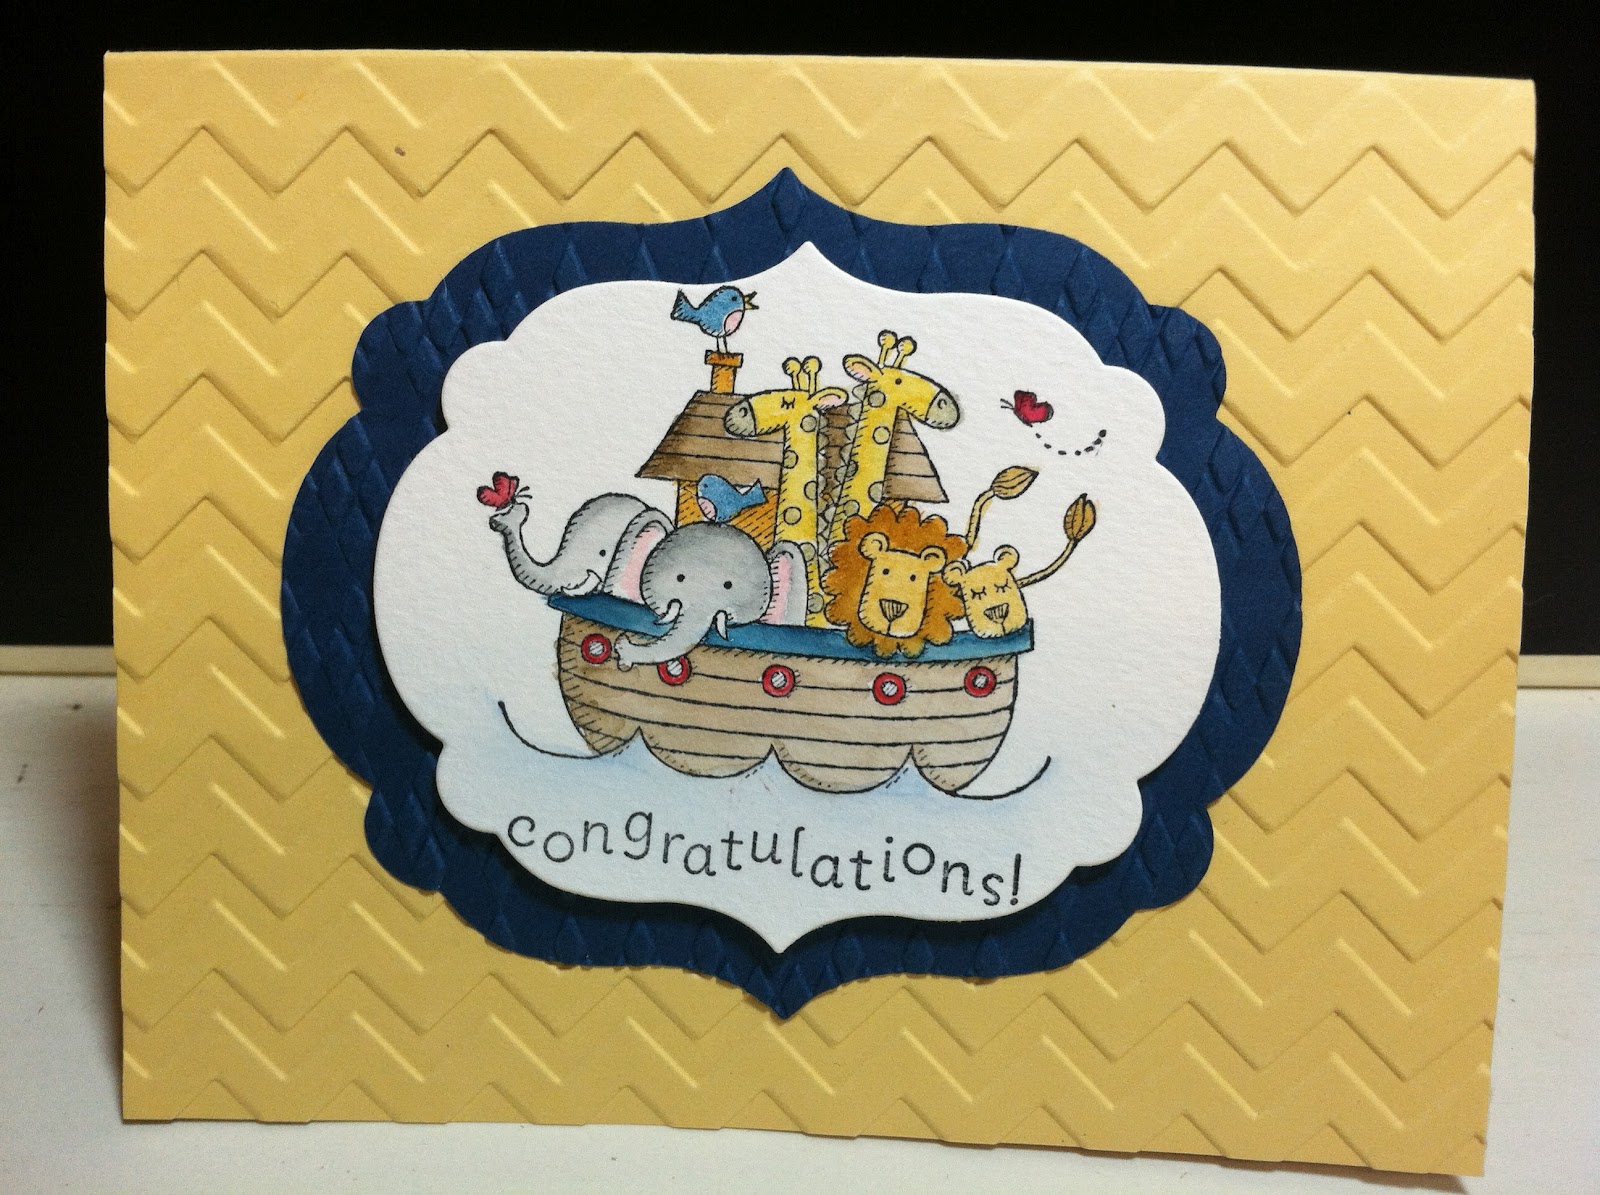
August
http://kath-allthatscrap.blogspot.com/2012/08/two-by-two.html

September
http://kath-allthatscrap.blogspot.com/2012/09/fabulous-florets.html
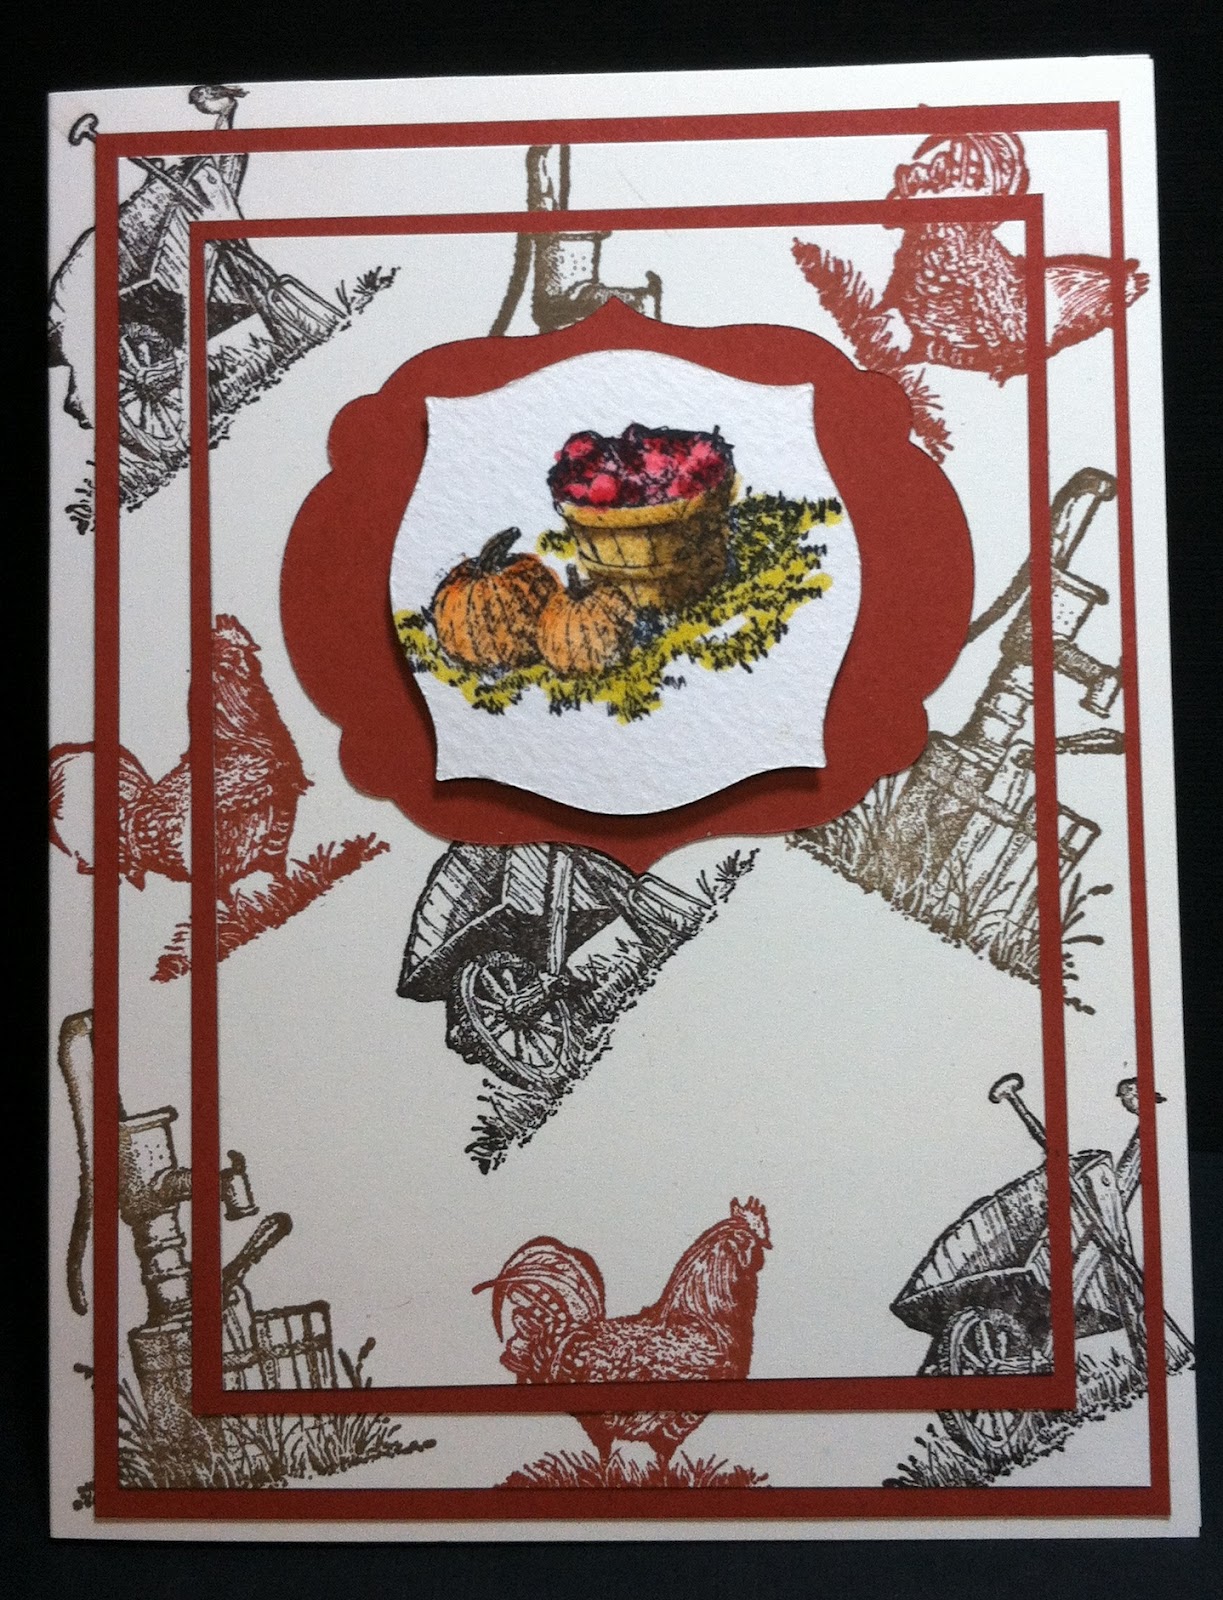
 October
http://kath-allthatscrap.blogspot.com/2012/10/moving-forward.html
 November
http://kath-allthatscrap.blogspot.com/2012/11/llama-fall-idays-christmas-blog-hop.html

December
http://kath-allthatscrap.blogspot.com/2012/12/santas-pants.html

Well I hope you like my selections, I really would love to hear if you had a favorite this year.
January
http://kath-allthatscrap.blogspot.com/2012/01/apothecary-art.html

February
http://kath-allthatscrap.blogspot.com/2012/02/sale-bration-card.html

http://kath-allthatscrap.blogspot.com/2012/03/happiest-birthday-wishes.html

http://kath-allthatscrap.blogspot.com/2012/04/love-sympathy.html

http://kath-allthatscrap.blogspot.com/2012/05/angry-bird-gift-bag.html

http://kath-allthatscrap.blogspot.com/2012/06/another-summer-afternoon.html

http://kath-allthatscrap.blogspot.com/2012/07/serene-silhouettes-stampin-llama-card.html

August
http://kath-allthatscrap.blogspot.com/2012/08/two-by-two.html
September
http://kath-allthatscrap.blogspot.com/2012/09/fabulous-florets.html

http://kath-allthatscrap.blogspot.com/2012/10/moving-forward.html

http://kath-allthatscrap.blogspot.com/2012/11/llama-fall-idays-christmas-blog-hop.html

December
http://kath-allthatscrap.blogspot.com/2012/12/santas-pants.html

Well I hope you like my selections, I really would love to hear if you had a favorite this year.