Showing posts with label Label Framelit. Show all posts

Wednesday, August 15, 2012

Two by Two

I don't know if you have the same problem as me, but if I have been unable to stamp for awhile I find it hard to do. So my go to is Watercoloring. Here is what I made.

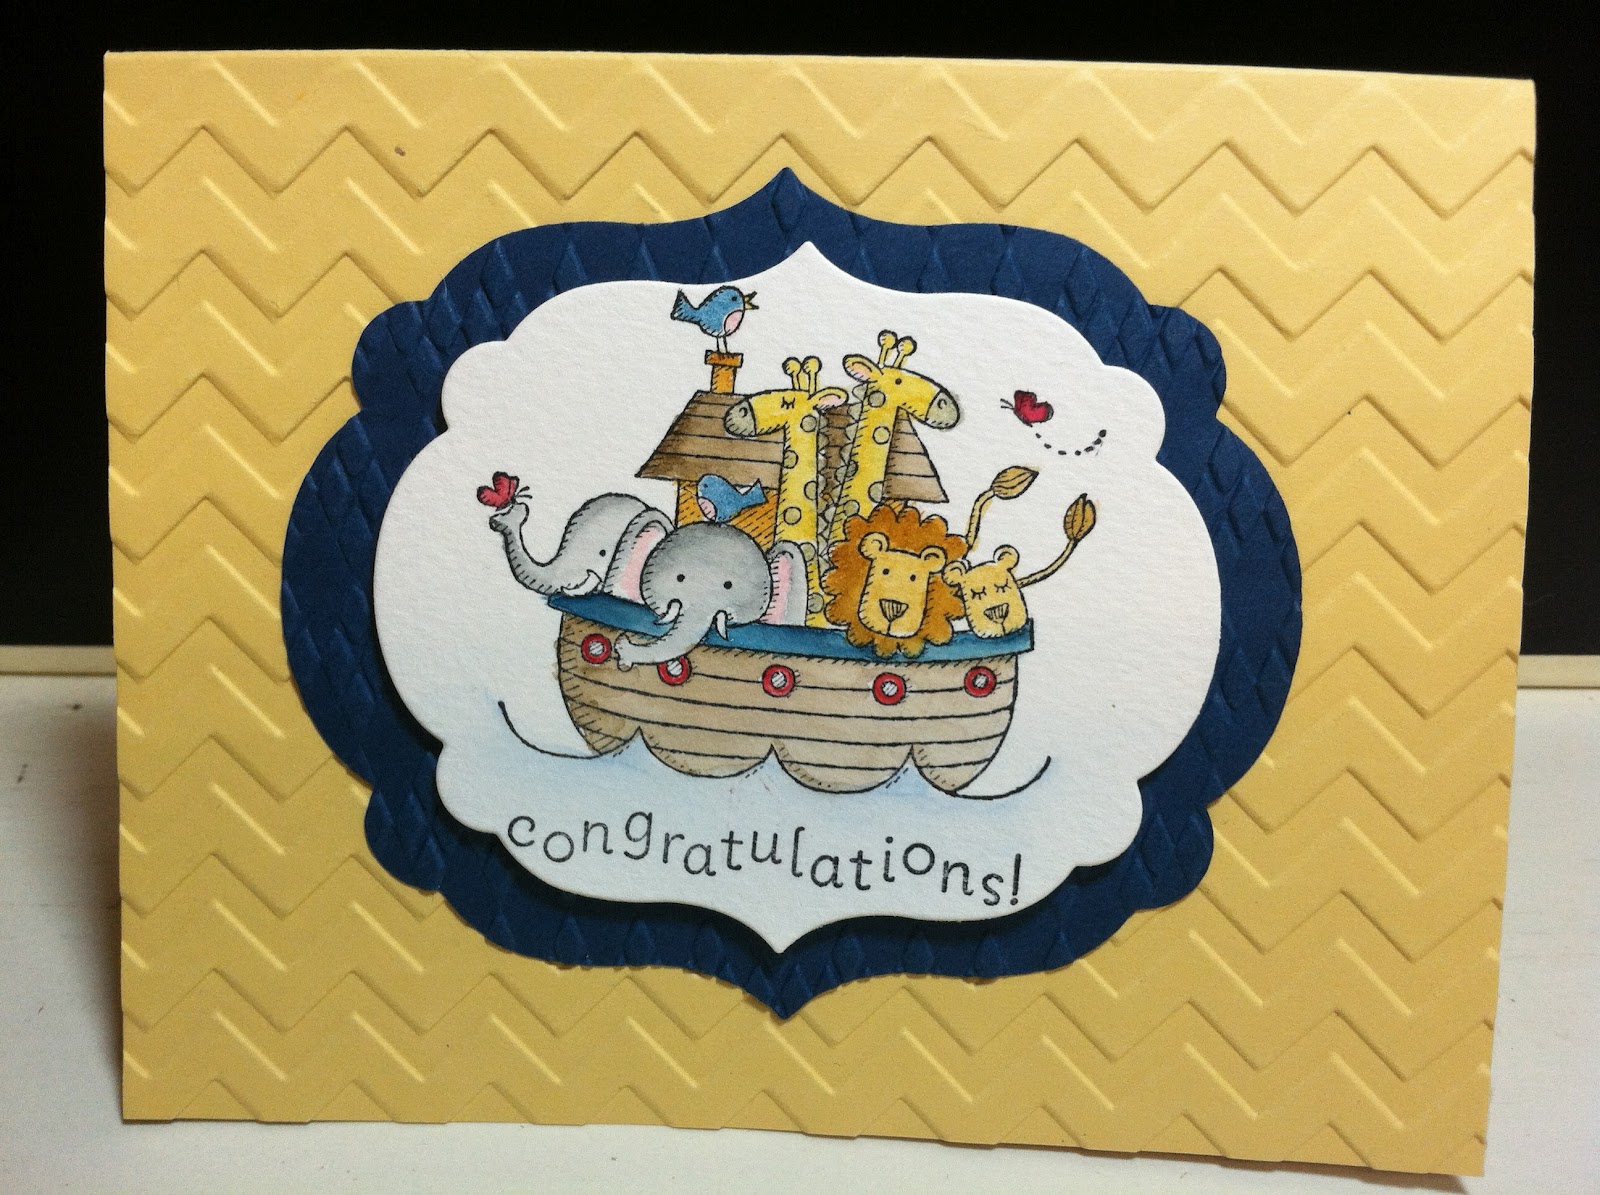
  • Card base is So Saffron with the front embossed with the Chevron Embossing Folder.
  • The image was stamped on Watercolor Paper with Stazon and colored with Ink and an Aqua Painter. The image was then cut out with the Label Framelit.
  • I used the next size larger Label Framelit to cut a piece of Midnight Muse CS, I then embossed it with the Argyle Embossing Folder.
I think it makes a fun baby card, what do you think?

Sunday, June 17, 2012

Another Llama Hop. . .

The Stampin' Llamas hopped again this week, sadly I was unable to participate this time as I was busy working at Scout Camp. Here is a Link to the home page so that you can check out the work of my friends.

Here is a card that I started but didn't finish... I can't decide how to finish it. Any ideas? Please help me with it.


  • The card base is Naturals White.
  • I stamped the image from Summer Afternoon on Naturals White with Stazon and colored it with Ink and an Aqua Painter. I cut it out with the Label Framelit.
  • I cut two Raspberry Ripple Framelits the same size as the Naturals White and cut each in half in opposite directions. They were layered behind the image to frame it.
  • I cut a larger Midnight Muse Framelit and ran it through the Big Shot with the Flowers a Plenty Embossing Folder. The framed image was popped up with Dimensionals on top of it and added to the card base.
  • Now I am stumped I can't decide what to do now, so I am looking for suggestions..
We just finished our first week with Scouts in camp, it was a successful week. I have a good staff this year that I enjoy working with.  My favorite Scout returned to camp this last week. His name is Paul, I mentioned him last year( he earned the archery Merit Badge last year).  He is blind but doesn't let that stop him, he has the sunniest personality and is so enjoyable to be around. We head up to camp tonight for week two.  We come home with enough time to do laundry, sleep, go to church and head back up.

I miss stamping so go stamp this week and think of me :).


Sunday, June 10, 2012

Another Summer Afternoon

I used another stamp from Summer Afternoon. I also used new Framelits.

  • The card base is Naturals White.
  • I used the Apothecary Accents Framelits on a piece of Island Indigo I then ran it through the Big Shot with the Vintage Wallpaper Embossing Folder.
  • I cut a piece of Calypso Coral with the Label Framelit. (yes I love the Big Shot and the Framelits and Embossing Folders, I got the three new folders this week while I was up at camp I'm hoping to get to play with them after church today). The Calypso Coral piece is layered behind the Island Indigo piece and added to the card base.
  • I stamped the image from Summer Afternoon onto Watercolor paper with Stazon Ink. I colored the image with Ink and an Aqua Painter> I cut the image with the Label Framelits and then popped it up with Dimensionals on the card.
Do you love Summer Afternoon as much as I do?

Update on the first week at Scout camp. This week is called Do or Die, we spend the week setting up, repairing, and cleaning camp(160 acres) getting it ready for a summer with Scouts. It is a lot of hard work a we are in a dry year and had more dead fall this winter then we did last year so hauling wood and general clean up seemed to be more then last year.  We had some difficulties to work with, someone on the Council level made the mistake of scheduling a Webelos Woods and a Timerline Course at the same time we needed to set up camp, so we were trying to work around people who were in the way.  We we able to leave camp at about 6pm last night pretty much ready for Scout Troops to start arriving tomorrow, we head back up again tonight at 6pm.  We have a pretty good group of Staff members this year and I think this year will be better then last year.  I am really please with the Staff I have in the Trading Post, they are great workers!

So until next Saturday or Sunday when I can post again I hope you find plenty of time to stamp and enjoy yourselves.


Thursday, May 31, 2012

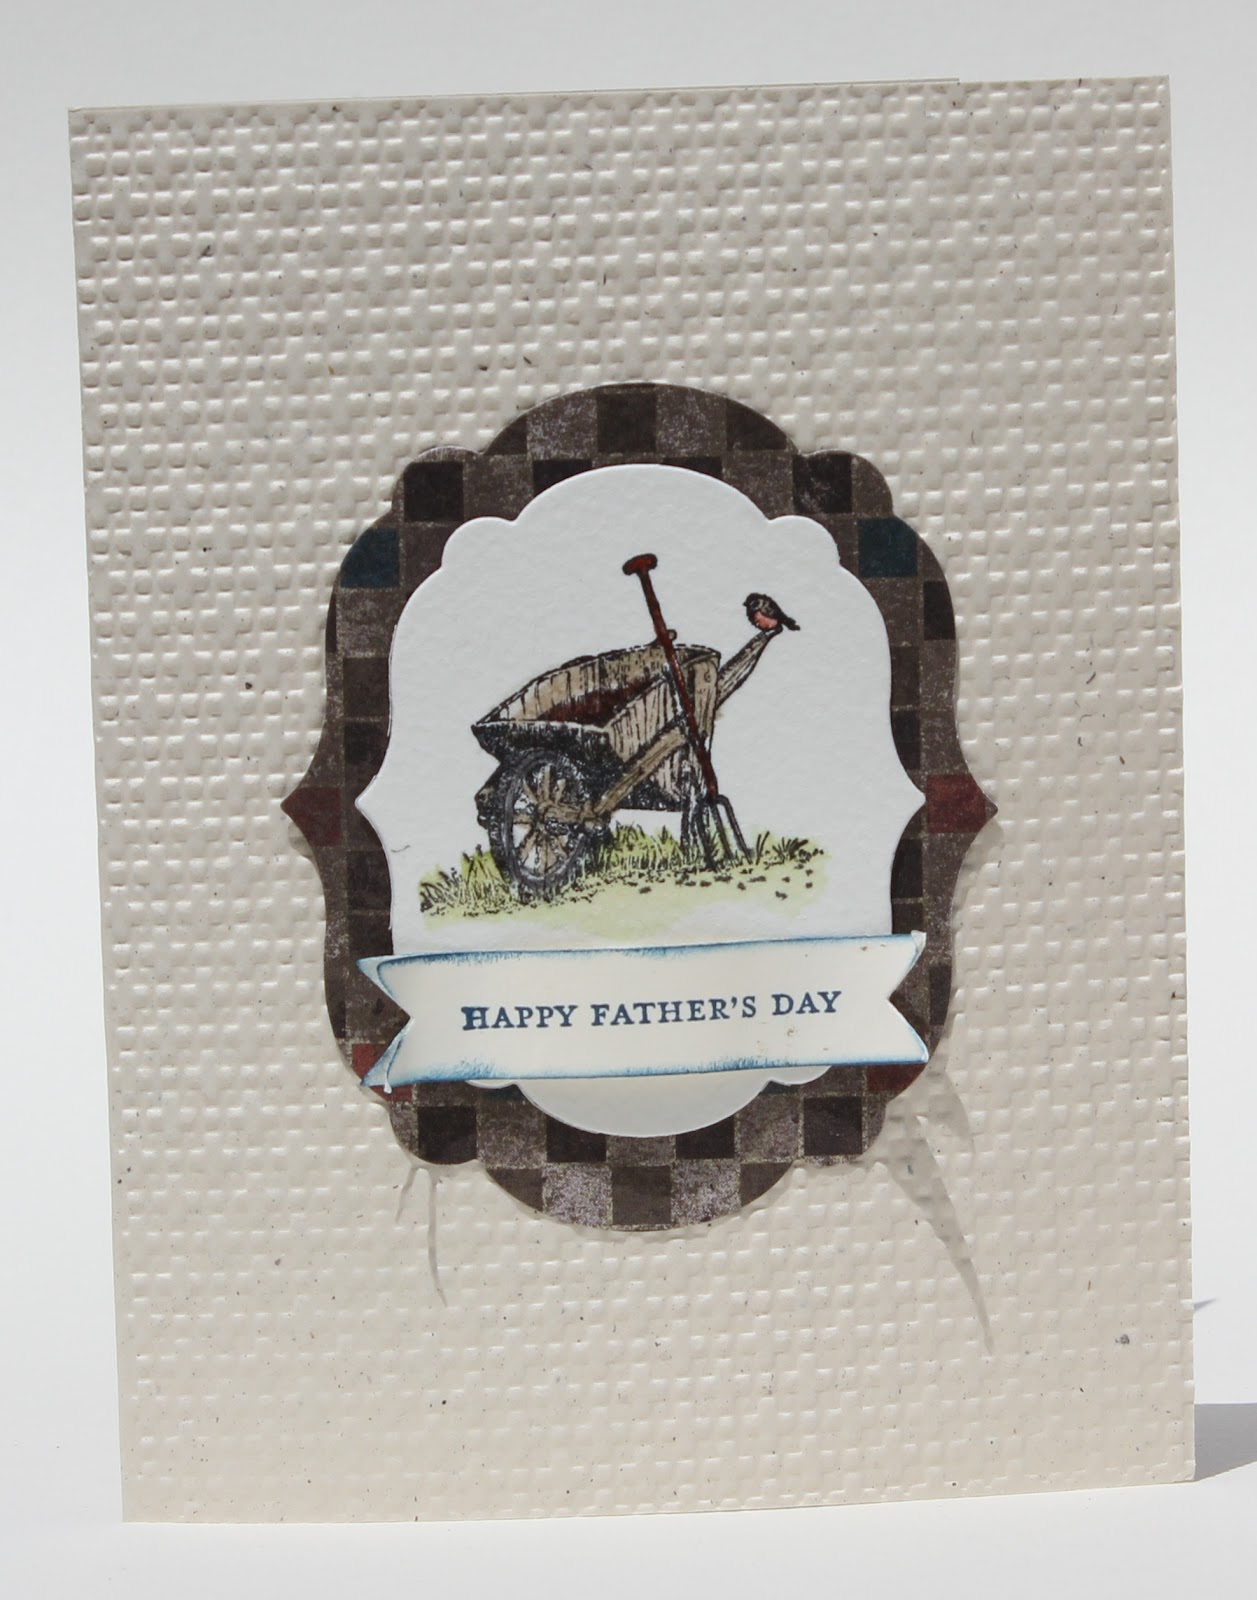
Countryside- Father's Day

I love texture!

  • The card base is Naturals White that I ran through the Big Shot with the Square Lattice Embossing Folder.
  • I cut a piece of Watercolor Paper with a Label Framelit then stamped the image from Countryside with Stazon on it I colored it with ink and an Aqua Painter.
  • The phrase is from Teeny Tiny Wishes, I stamped with Not Quite Navy  on a scrap of Naturals White the cut it with a new Framelit called Bitty Banners Framelits (available at noon tomorrow). I used the Bone Folder to break the fibers in the paper to give it some curl, then sponged the edges with Not Quite Navy.
  • I layered the image on a piece of Well Worn DSP cut a size larger the the image.
Simple but I like it, hope that you do too.

Sunday, May 27, 2012

Hedgehog Happiness and more sneak peek colors

A Thank you card this time...

  • The card bases are Island Indigo with the fronst ran through the Big Shot with the Vintage Wallpaper Folder.
  • I stamped the images on Watercolor paper with Stazon then punched one with the 2 1/2" circle and cut one with the Label Framelit.  I colored the images the same using markers and an Aqua Painter.The three new colors I used are Raspberry Ripple (love it!) for the bow, Primrose Petals for the flowers and Gumball Green for the Leaves.
  • The card on the right is layered on Raspberry Ripple and the one on the left is on Primrose Petals.
So here is a picture on my youngest sons Hedgehog
a little blurry but she's still cute, this was taken in January so she's a little larger now.

Sunday, May 6, 2012

Word Play Graduation


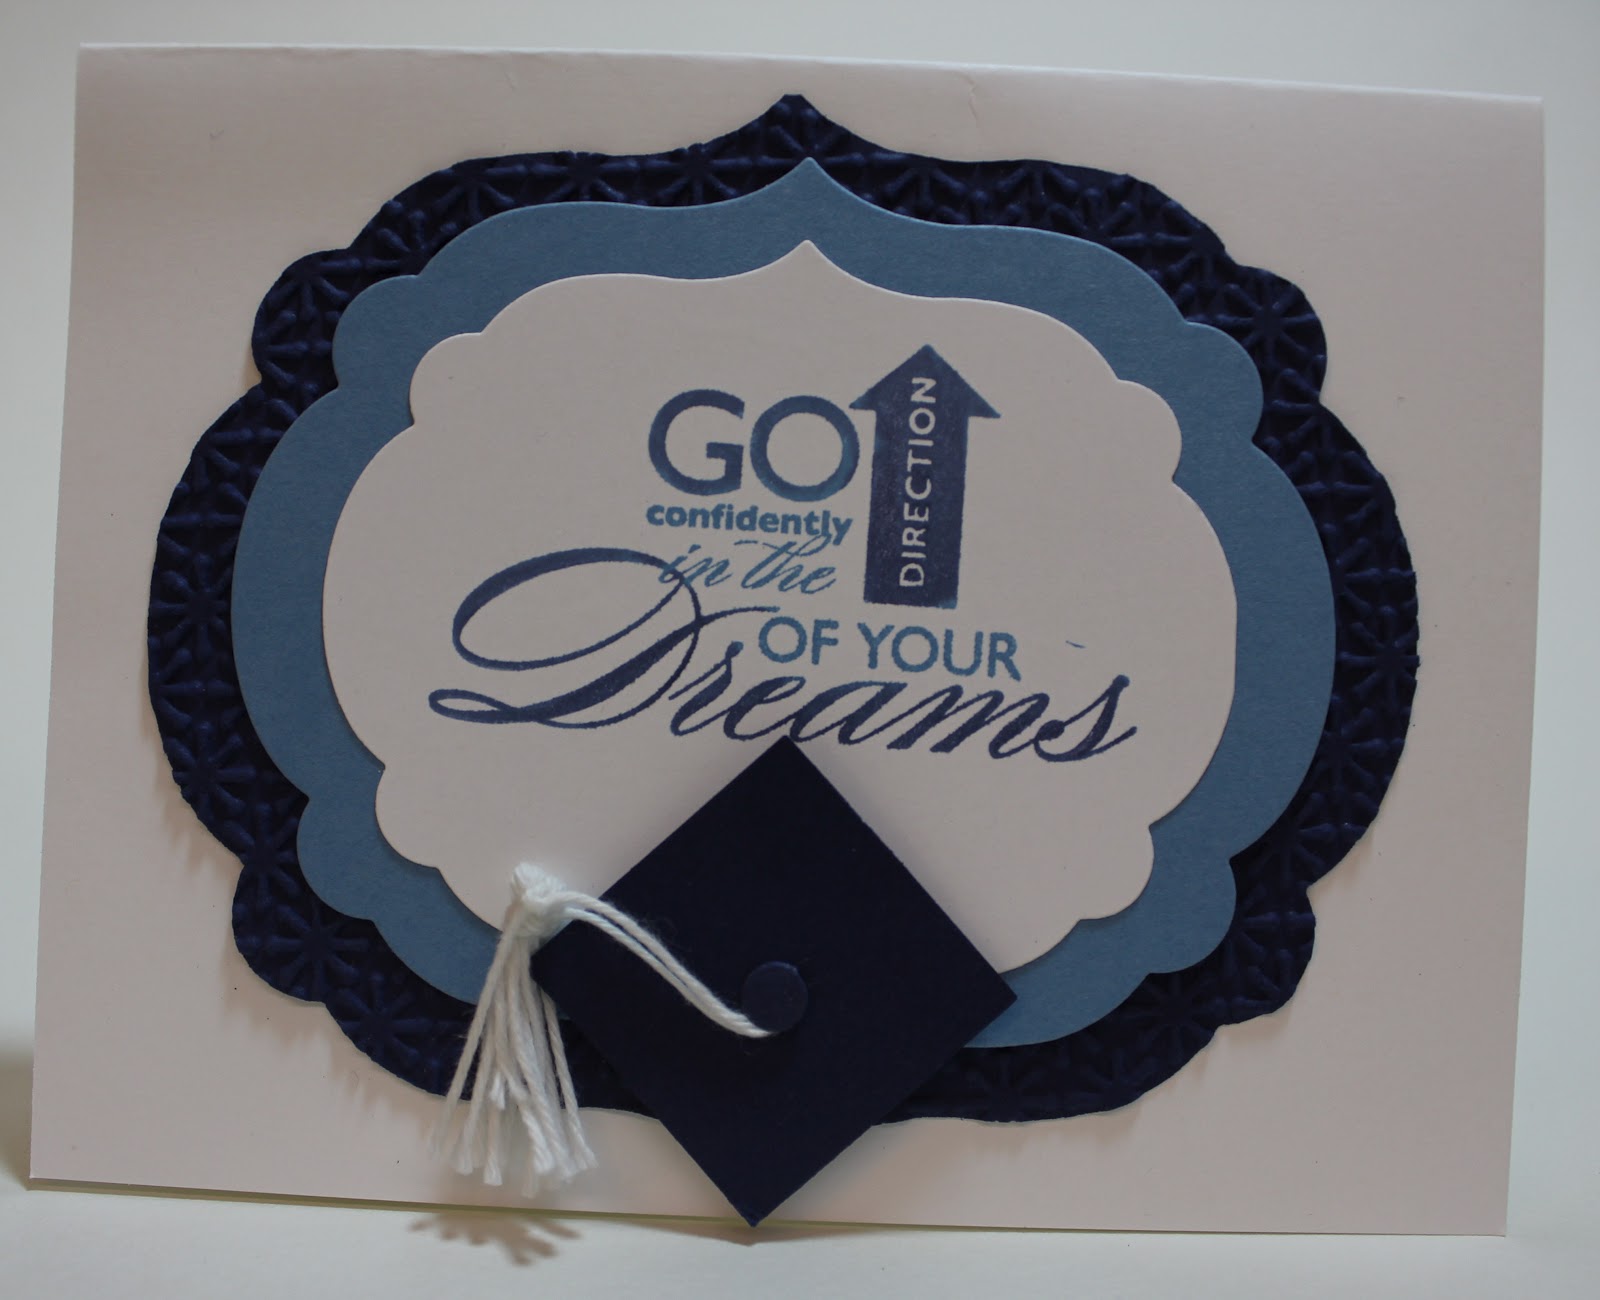
So with University Graduations going on now and High Schools right around the corner I am making Graduation cards.

  • The card base is Whisper White.
  • Using three sizes of the Label Framelits I cut CS in Night of Navy, Marina Mist, and Whisper White, I ran the Night of Navy one through the Big Shot in the Starburst embossing folder. I layered the three  together and added them to the card front.
  • I used a phrase from Word Play for the card, I inked it in Marina Mist and then went over some of the words with the Night of Navy marker. I stamped it on the Whisper White Framelit.
  • I made a tassel with the White Bakers twine and used a 1 1/4" square and a small circle to make the cap.
So this card is done in my boys school colors, I have made the in the colors of the three local High Schools.

Wednesday, May 2, 2012

Happiest Birthday Wishes

Using up soon to retire DSP! I love the Well Worn DSP and I am going to miss it.

  • The card base is Cajun Craze with a front of Well Worn DSP with the edges distressed.
  • Using the Label Framelit I cut a piece of Marina Mist and the embossed it with the Square Lattice Embossing Folder.
  • I cut two flags from different pieces of Well Worn.
  • On Crumb Cake Using Not Quite Navy ink I stamped the image from Happiest Birthday Wishes twice. on the first one I punched the center circle out, then punched the whole circle out.  On the second one I punched the second second circle only. Using Dimensionals I stacked the circles on top of each other.
From looking at the card I think you can see how all the pieces went together, if you have any questions just let me know!

Tuesday, May 1, 2012

Kindness Matters


To me when I first saw this stamp set I thought that the butterflies should be blue... I can't seem to do a different color.
  • The card base is Sahara Sand I cut an opening with the second smallest Label Framelit(if you like these you will be excited for the new catalog in June). I also rounded the right corners of this card.
  • I cut a piece of Watercolor paper with the next larger Framelit. I stamped the three butterflies in the center of the paper with Stazon. On a small scrap of Watercolor paper I stamped just the center butterfly. I colored the butterflies Island Indigo.
  • I stamped Kindness Matters in the bottom right corner in Island Indigo.
  • I wrapped the matching ribbon around the card and knotted it. I stamped thanks so much from the Tiny Tags set and punched it out with the Jewelry Tag punch I punched an additional tag in Marina Mist and on in Not Quite Navy. I punched a small hole and threaded them onto Island Indigo Backers Twine. I colored a small Pearl with a teal Sharpie and added it to the tag.
So that's my latest Thank you card. . .

Sunday, April 29, 2012

Create a Cupcake!

Another card from last weeks Ribbon & Pearls class.

This card uses a retiring stamp, retiring paper, retiring tool and a retiring punch.

  • The card base is Confetti White(retiring) With a front of Pretty in Pink
  • I inked up the phrase from Create a Cupcake with Chocolate Chip and stamped it onto a scrap of Naturals White then ran it through the Big Shot with the smallest Label Framelit, I cut 2 more of the smallest Framelit out of Chocolate Chip, cut each in half in opposite directions and frames my phrase with them.
  • On a 3" square of Regal Rose I stamped Fine Flourish(retiring) with Versamark and stamped it on the CS and embossed it with Iridescent Ice. I punch it out with the 2 1/2" Circle punch.
  • I cut a strip of Chocolate Chip and a rectangle of Crumb Cake DSP from the Naturals Stack. I punched the strip with the Lace Ribbon Border punch (retiring) I threaded Regal Rose 1/8" Taffeta Ribbon through the center holes and tied a knot 2/3s of the way down.
  • I used the Crimper(retiring) on a scrap of Chocolate Chip CS and punched it with the Cupcake punch I ran a scrap of Pretty in Pink through the Big Shot in the Elegant Lines embossing folder, then punched it with the Cupcake punch. The Cherry was punched from Real Red and Crystal Effects was added to make it shinny and rounded..
  • I used a Sharpies to color the Pearls.
From the photo I think you can see how it all went together, if you have any questions let me know.

Sunday, April 22, 2012

Masculine Birthday

I thought this would make a great birthday card for a man. . .

  • The card base is River Rock with a front of Early Espresso.
  • The DSP is a piece of 3 3/4"x5" Well Worn (my favorite DSP)
  • Using markers I colored(River Rock, Soft Suede, and Early Espresso) a stamp from Delightful Dozen and stamped it onto a piece of Confetti White. I cut it out the Label Framelit the sponged the edges with Early Espresso. I layered it onto a piece of Soft Suede, with Dimensionals, that was cut with the next larger Framelite.
So what do you think? A great man card?

Friday, April 20, 2012

More Herringbone


Here are the other sample I made for club.

Here is the card we made in club.  And here is another sample
  • This card has a Whisper White card base.
  • The DSP:  Beyond the Garden .
  • Stamp Set: Vintage Vogue (soon to retire)
  • Punches: 2 1/2" circle, Itty Bitty Punch Pack flower, 
  • Ink: Pacific Point.
  • Card Base is River Rock, with a front of Bravo Burgundy
  • DSP: Paisley Petals
  • Stamp set: Just Believe
  • Ink:Versamark, Always Artichoke
  • misc: Labels Framelit, Clear Embossing Powder.
This card was a CASE of my friend Debbie's card
  • Card base is Not Quite Navy
  • DSP: Well Worn
  • Stamp set: A Word for You
  • Punch: Curly Label
  • Ink: Cajun Craze
If you haven't tried Herringbone I hope you have been inspired to try it, come back and let me know so I can see your work.

Wednesday, April 18, 2012

Herringbone- All White

I have been playing with the Herringbone technique we did this month in club and I thought I would share with you over the next few days some of the results. Here is an all Whisper White Card.

This card was so pretty in real life (it was sold with in 30 minutes of completing.

  •  The card base is Whisper White with a front of Textured Whisper White CS.
  • I ran Whisper White CS through the Big Shot with different Embossing Folders and with Texturz™ Plates. I then cut them into strips 1/8" to 3/8" wide.
  •  The herringbone design was done by cutting a piece of Whisper White CS 3 3/4" x 5" and layering it with a piece of Multipurpose Adhesive Sheet cut the same size. I then filled the design in with the strips I had cut. I then popped it up with Dimensionals on the card front.
  • The Basic Black CS was sprayed with Champagne Shimmer Paint Spray and cut with the Label Framelit.
  • Best Wishes is from Petite Pairs and it was inked with Versamark stamped onto Whisper White CS and embossed with Black Embossing powder that had BlackFine Galaxy Glitter mixed in. When Embossed the word were sparkly black. I punched the words out with the Small Oval punch and then added to the Basic Black piece then centered on the card.
I hope that you like this card, herringbone is a fun design and a great way to use up scraps of DSP or even CS.

Monday, April 16, 2012

Smooches #2

I hope you stopped by our hop that we had over the week end, if not you might want to go to my previous post and check it out. There were some lovely projects.

Th retirement list came out yesterday and there are plenty of sets that will soon be gone, several that were on my wish list. Make sure you get the sets on your wish list before May 31st when they are gone forever.

Here is a card that I thought of using for the hop, we had discussed using Summer Smooches or retiring In Colors, I ended up using the retiring In Color cards and I posted one of my Smooches cards here . So now I thought I would share the second one.
  • The card base is Daffodil Delight with the front edge cut with an Edgelit. I added a piece of Summer Smooches DSP.
  • I cut a piece of Whisper White with a Label Framelit and cut a piece of Island Indigo with the next size up and layered them together.
  • Using scrap of CS in the colors from the DSP I made a vase and flowers from punches. The punches used were 1" circle(vase), Itty Bitty Punch pack(flower), Owl(centers) bird punch(leaves).
A simple card that feels like spring! Have a wonderful day and find yourself some time to stamp.

Thursday, April 12, 2012

Colors of Spring-A Stampin' Llama Blog Hop


The Llamas are hopping again! Officially we are starting at 9pm Eastern so if you are here early please make sure you check back and join our hop.
I am highlighting the soon to retire In Colors

My first card highlights Poppy Parade and Peach Parfait. 


CS: Poppy Parade, Peach Parfait, Whisper White.
Stamp Sets: Fifth Avenue Floral and Teeny Tiny Wishes
Ink: Poppy Parade and Peach Parfait
Misc: Label Framelits, Dimensionals, 1 ply toilet paper(molded flower)


My second card uses Pear Pizzazz, Peach Parfait and Blushing Bride

CS: Pear Pizzazz, Peach Parfait and Blushing Bride
Stamp Sets: Delightful Dozen
Ink:Pear Pizzazz
Misc: Label Framelits, Designer Frames Embossing Folder, Dimensionals, 3/8" Pleated Satin Ribbon, Designer Cuts Cards & Envelopes Set, Pearl Jewels(colored with brown sharpie) Itty Bitty Punch (flower)

My last card highlight Concord Crush

CS: Whisper White, Concord Crush
DSP: Cheerful Treat
Stamp Sets: Loved Ones
Ink:Pear Pizzazz, Melon Mambo, Concord Crush
Misc: Label Framelits, Designer Frames Embossing Folder, Dimensionals, Melon Mambo Polka Dotted ribbon.

I hope you enjoyed your stop! Now hop on to my friend Darrah's blog and see what see has been up to.


Sunday, April 8, 2012

Happy Easter!

 I thought a Springtime card would be nice.  These remind me of the Cherry Blossoms that are in bloom now.

  • The card base is Whisper White with a front of Petty in Pink. An opening was cut with the Label Framelit in the front of the card base and cut the next lager size into the Pretty in Pink front.
  • With Versamark  En Francais was stamped  on the Pretty in Pink piece.
  • On the inside of the card the lager image of flowers from Bordering on Romance  was stamped  with Stazon and stamped it a second time onto a scrap of Whisper White. The image was colored with Ink and a Blender Pen. 
  • Two flowers from the stamping on a scrap piece was cut out with snips. and adhered with Mini Glue Dots around the opening.
  • Mini Pearl Jewels were colored with a sharpie and added to the flowers on the front of the card.
I hope you like the card. Have a wonderful day.

Thursday, April 5, 2012

Love & Sympathy

This was a fun card to make and but changing the sentiment it could me Mother's day or Birthday or no sentiment at all.

  • The card base is Very Vanilla(this is what I mostly use if I am using Watercolor paper) with a front(popped up with Dimensionals) of Very Vanilla that was ran through the Big Shot with the Vintage Wallpaper embossing folder.
  • I cut a piece of Marina Mist with the Label Framelit and a piece of Watercolor paper with the next smaller Framelit.
  • I sprayed the Watercolor paper lightly with water, then with the image from Love and Sympathy, colored with markers I stamped it onto the paper and let it bleed, then I dried it and re-stamped the image over the first one.
  • I stamped the phrase in Not Quite Navy and stamped it on a scrap of Very Vanilla CS then cut it with a Label Framelit. I sponged the edges with Marina Mist and popped the phrase up with Dimensionals.
I really like this technique as an easy Watercolor.