Showing posts with label Greeting Card Kids. Show all posts

Friday, September 23, 2011

Greeting Card Kids-Blue Christmas

Of all the stamp sets that SU sells with kids images in them, Greeting Card Kids is the only one that I like.  I really like the images in this set!

I didn't make Halloween cards this year, but here are links to a couple I made last year.
On to today's card!
  • The card base is Whisper White with a Marina Mist front that was ran through the Big Shot with the Northern Flurry folder. I then punched it with the Word Window punch.
  • I stamped the image of the little girl on Watercolor paper with Stazon and then colored her with Watercolor Wonder Crayons and an Aqua Painter. The colors I used were Regal Rose, Rich Razzleberry, Marina Mist, Not Quite Navy and Garden Green.
  • The image was layered onto Not Quite Navy and then onto Whisper White.
  • Merry Christmas was stamped onto the base through the Word Window opening using Not Quite Navy.
This is one of the cards for sale under the Card Sale tab. You can order as many of it as you need or order the set and supplies and have fun making them yourself! Email me if you are interested and I will take care of you.

Monday, August 22, 2011

Greeting Card Kids

It really is time to start thinking about and planning Christmas Card Making ideas.  I will once again hold a class once a month to make cards for Christmas.  This will be one of the cards in an upcoming class.
Class dates are as follows:
Sept 19
Oct 17
Nov 21
Let me know if you want to sign up for the classes.  Cost is $15 for 10 cards of one design each month.

School started today, time to do the happy dance.  I've been working on cards for a blog hop and am starting to remember how to stamp again.  I hope you are having a wonderful day!

Monday, August 30, 2010

Greeting Card Kids-Halloween from the class

This past week has been crazy busy! I had two classes, open stampin day, school started for my kids, and our summer ending Court of Honor for the boy scouts in our Unit (I was in charge, I am chairman for both our troop and our crew and the Vicechair for our scout district) this week looks to be slower, I only have club booked for stamping this week. I do have fruit that must be canned this week or it will go bad.  But enough about me, I'm sure it is a card that you came here for. . .
This is the card from my Greeting Card Kids class, I think it turned out pretty good ;).
• Fold Pumpkin Pie card base in half, run the front half through the big shot with the Spider Web folder (Winter Mini)


• With Stazon Ink stamp the image in the center of the Watercolor Paper

• With an Aqua Painter pick up color from the tips of the Watercolor Wonder Crayons. Crayons Used Pumpkin Pie(pumpkin), Bravo Burgundy(dress and hat band), Black(cape and hat) Old Olive (vine), Daffodil Delight and More Mustard(hair, buckle and broom bristles), Chocolate Chip(broom), Blush Blossom Pen(skin)

• Wrap 1 ¼" striped Grosgrain Ribbon around the square of Bravo Burgundy Using the Filigree brad and a Rhinestone brad, wrap brad prongs around ribbon instead of tying. Attach square to the card front

• With Diemensionals, pop the image up on the Bravo Burgundy square

• Stamp Happy Halloween from "Teeny Tiny Wishes" in Bravo Burgundy ink on a scrap of Very Vanilla CS and punch out with the Word Window punch, layer it on a piece of Bravo Burgundy CS punched with the Modern Label punch add to card front

Hope you find some time to stamp, I have several sets that I ordered at the beginning of the month that I haven't even ink up yet. . . maybe this week. Hope your day is a great one!

Friday, August 27, 2010

Is Almost a CASE still a CASE?

If you look at Ann's card they are both very different.  I was designing cards for my Greeting Card Kids class and had made the image tag and the netting rosette, picked the card base and the card front.  But I couldn't figure out how to make it all work together. The next day Ann posted this, http://www.stampinchic.com/2010/08/greeting-card-kid-for-always-playing.html .  Now I firmly feel hers is the better card, but I needed to keep my card at a certain cost to reproduce and I needed to keep it at 5 1/2" x 4 1/4". so with what I started with and looking at her card this is what I came up with.  Here are the instructions from yesterdays class.

• Fold Always Artichoke card base in half


• Punch the corners of the Cherry Cobbler front with the Scallop Trim Corner punch. Adhere the front to the card base

• Spray the Scalloped piece of DSP with shimmer paint spray, let dry

• Run the Very Vanilla CS through the Big Shot with Scallop Circles #2 die again in the Petals a Plenty Folder. Lightly sponge with Soft Suede then spray with Shimmer paint spray

• Stamp the image with Stazon towards the bottom of the tag, color with markers and an Aqua Painter. Markers used Cherry Cobbler and Real Red(coat, hat and stockings), Always Artichoke, Real Red, Daffodil Delight(tree), Soft Suede(sled) Marina Mist(shadow to ground image). Use two way glue pen to add Dazzling Diamonds. Add a Jumbo Eyelet to the top of tag and add ribbon colored with the Soft Suede marker. Stamp Merry from "Teeny Tiny Wishes" on a scrap of Very Vanilla with Cherry Cobbler ink and punch with the Jewelry Tag Medium punch, add to the ribbon

• Layer Very Vanilla scallop, then DSP scallop, then tag.

• Layer the netting circle together and add a Rhinestone brad, add to front of card

So would this card be a CASE? I really don't think so, but if I hadn't seen the card on Ann's blog I sure that this card would have turned out very differently.  Thanks for stopping by and let me know what you think of this card.

Wednesday, August 25, 2010

CASEing Vickie Burdick


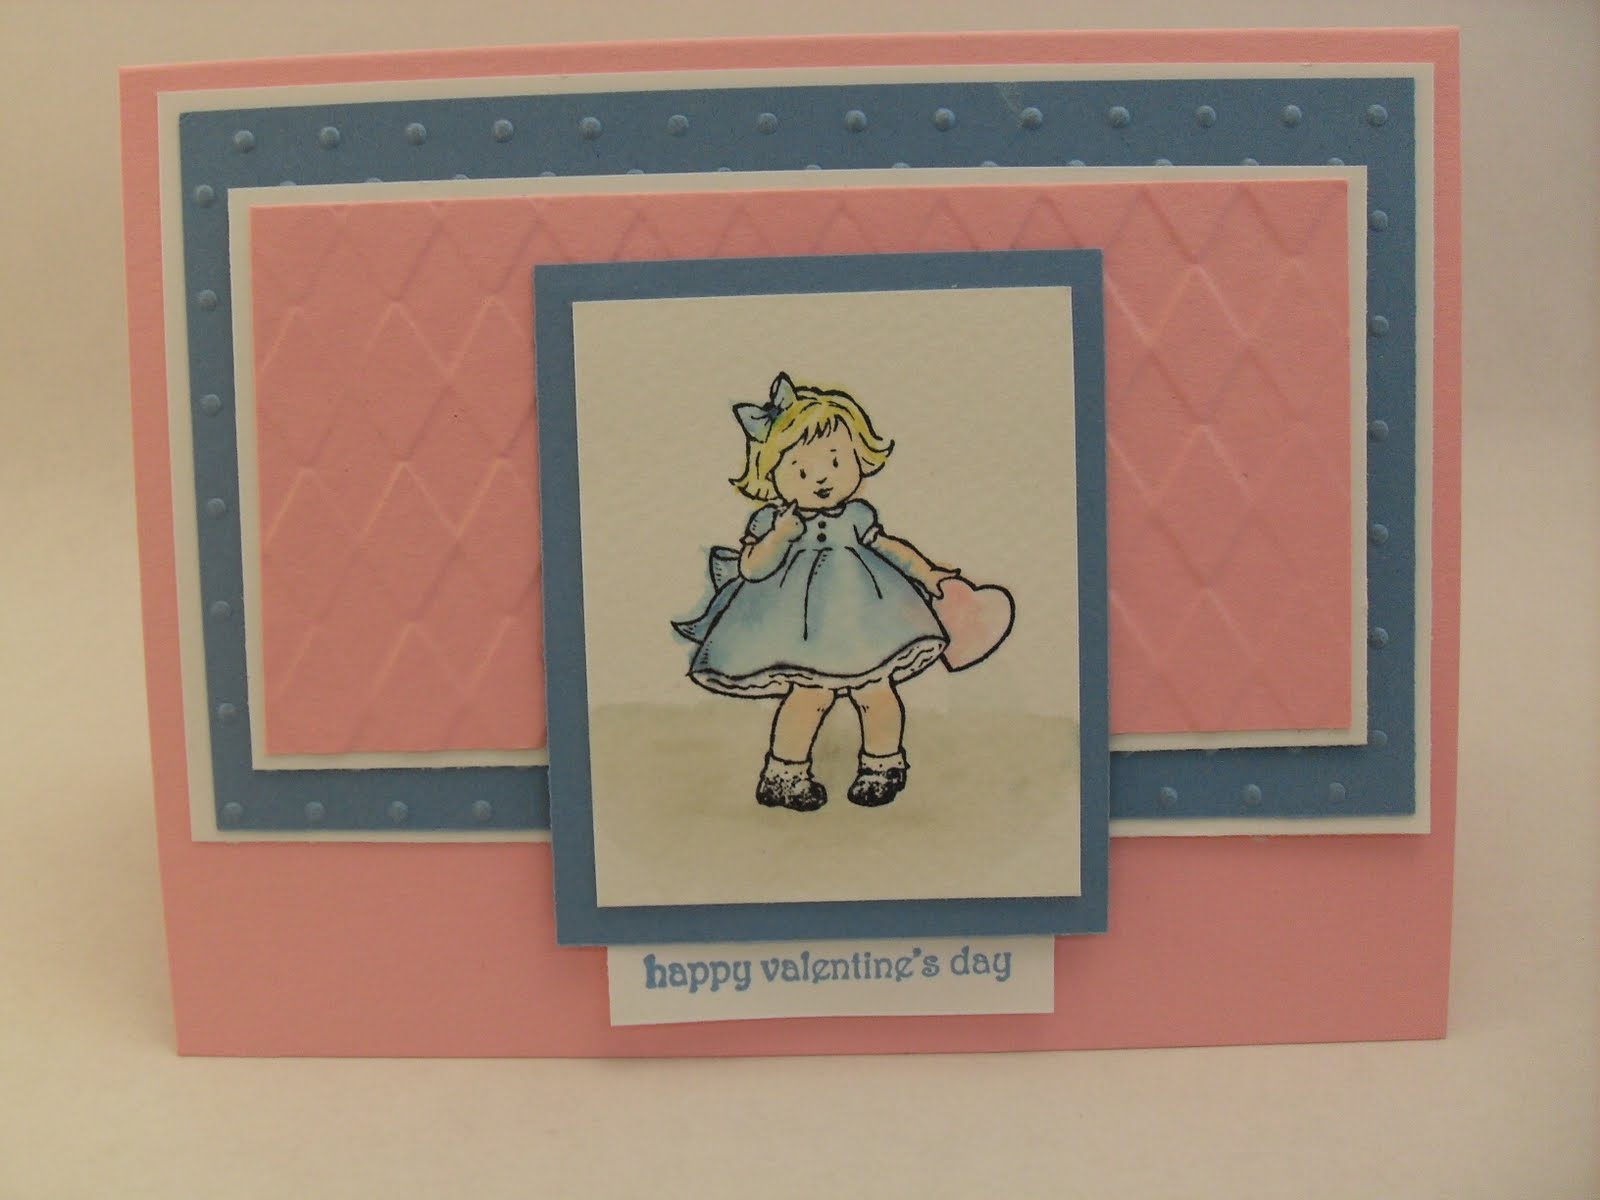
When I started planning cards for my Greeting Card Kids class (tomorrow) I had a hard time thinking of a card for this image, I had already planed one that I cut the image out cutting off the heart and making it into a birthday card. But as a Valentine's day card it wasn't coming to me, then I found Vickie's card (check it out )http://itsastampthing-vicki.blogspot.com/2010/07/mtsc84thank-you.html  as you can see I CASEd it pretty closely. 
• Fold Pretty in Pink card base in half


• Stamp image with Stazon in the center of the WCP, color with markers and an Aqua Painter, colors used Pretty in Pink(heart), Marina Mist(dress and bow), Daffodil Delight(hair), Blush Blossom(skin), soft Suede (for shadow to ground image)

• Run the Pretty in Pink CS through the Big Shot with the Backgrounds Textures Plate, layer it on Whisper White. Run the Maria Mist through the Big Shot with the Perfect Polka Dots folder layer on Whisper White. Add the Marina Mist/Whisper White layer on the card base; add the Pretty in Pink/Whisper White on top.

• Stamp happy valentine's day from "Teeny Tiny Wishes" on the piece of Whisper White with Marina Mist

• Layer the image on Marina Mist, adhere the phrase behind the Marina Mist and center on the card.

Sunday, August 15, 2010

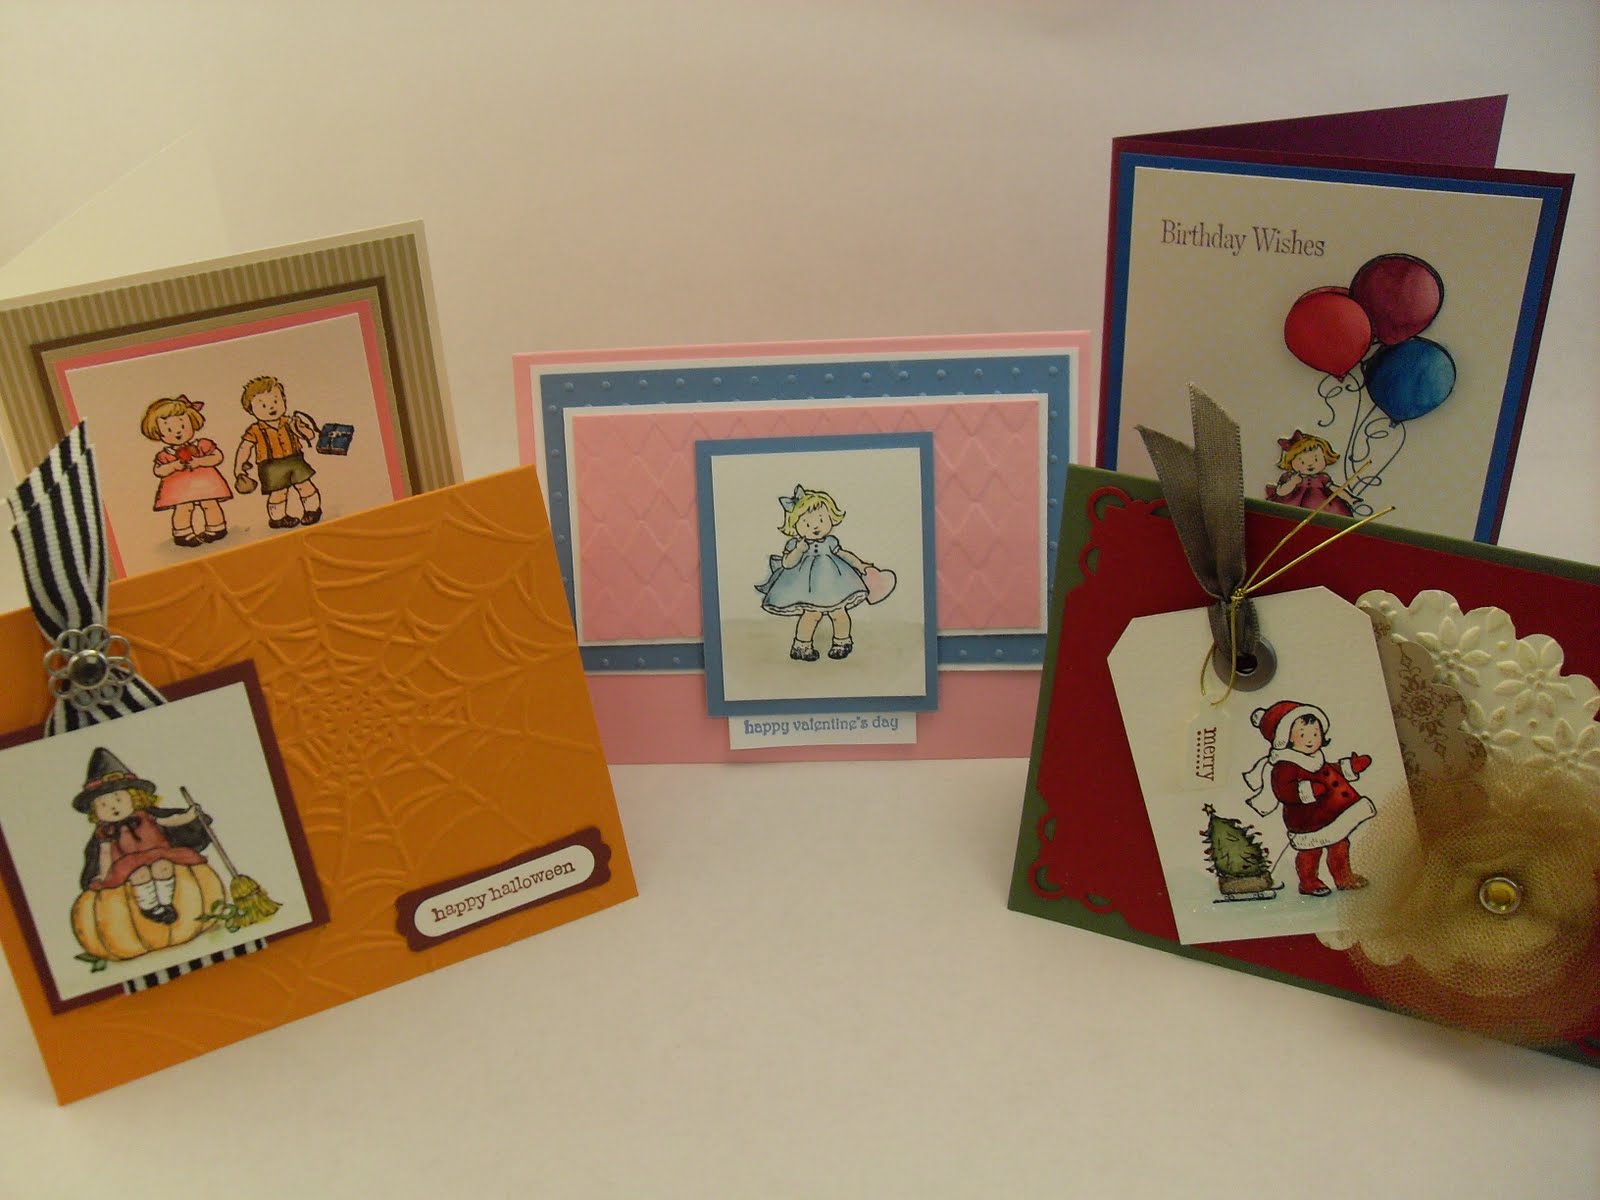
A Peek of my upcoming Greeting Card Kids Class

Thursday, August 26 at 10 a.m. or 6:30pm


At this class we will make 5 projects with the new "Greeting Card kids" stamp set by Stampin' Up!
This stamp set has two different mounting options so there will be two different prices for this class.
• If you would like a traditional wood mounted stamp set the cost of this class will be $35.00

• If you would like the new clear mounted stamp set the cost of this class will be $30.00

• Please note that you will need a clear block D for this class - bring one with you or contact me if you need to order one.

This class must be prepaid for by August 17th so that I can order your stamp set.

And yes I did CASE one of the cards. I will post the individual cards with more details after my class.

Please e-mail me if you are interested in this class.  Remember to check my side bar for retired Stampin' UP!  I keep finding things and adding them to the list, prices are pretty good too;).

Wednesday, July 28, 2010

Greeting Card Kids-birthday

This is my favorite of the the cards I made with Greeting Card Kids!
  • Card base is Rich Razzleberry with a layer of Pacific Point then a layer of Naturals DSP.
  • I stamped the girl on watercolor paper and colored her with markers and an Aqua painter. I cut her out and while cutting cut off the valentine that was in her hand.
  • I stamped the balloon from Crazy for Cupcakes 3 times on watercolor paper colored one Rich Razzleberry, one Pacific Point and one Melon Mambo, and cut them out. I stamped the balloon again three times on the background DSP using my stamp-a-ma-jig to join them together.
  • I attached the girl so that her hand was holding the balloons, I attached the watercolored balloons popping up two of them with dimensionals.
  • I stamped Birthday Wishes from the level 3 Hostess set Occasional Quotes onto the DSP in Rich Razzleberry.

So this is my favorite of the four Greeting Card Kids that I have done, which one is yours? Be sure to check out my retired sale in the left side bar.

Tuesday, July 27, 2010

Greeting Card Kids-Winter

This card uses the third of the four images from Greeting Card Kids.
  • The base of this card is Very Vanilla, I layered a front of Love Letters DSP.
  • I stamped the image onto a piece of watercolor paper with stazon and colored it with Markers and an Aqua Painter(I think Markers and an Aqua Painter is the easiest way to watercolor, my next favorite way is the Watercolor Wonder Crayons).
  • I layered the image onto a piece of Garden Green and then onto a piece of textured Riding Hood Red.

So that is my card. . . I'm not so liking this one, I'll have to try again and see if I can come up with a card I like better.

To purchase this card, click below:


Monday, July 26, 2010

Greeting Card Kids-Halloween

Here is another card using a different stamp from Greeting card kids.
  • The base of this card is Old Olive.
  • On a piece of Whisper White CS I repeat stamped the Fine Flourish image in Pumpkin Pie. Then added it to the card base.
  • The witch is stamped on watercolor paper with stazon and colored with markers and an Aqua Painter. I layered it on Concord Crush and again on a longer piece of Pumpkin Pie.
  • I colored a pieces of Taffeta ribbon with the Concord Crush marker evening out the color with a wet wipe.
  • I wrapped two pieces of Pumpkin Pie Grosgrain ribbon around the Pumpkin Pie CS with the Concord Crush ribbon in between.

So what do you think of the second Greeting Card Kids? I'm working on a class designed around this set. . .

To purchase this card, click below:


>

Friday, July 23, 2010

Greeting Card Kids

I have stamped all 4 images and colored them, this is the only one I've made into a card, still have to decide what to to with the others, so check back over the next little while, I'm sure I'll get to them.
  • Card base is Very Vanilla.
  • The front is from the Naturals designer paper pack, River Rock.
  • I stamped the image on Watercolor paper with stazon and colored them with markers and an Aqua Painter.
  • Layers are Regal Rose, River Rock and Always Artichoke.
  • The phrase is from Occasional Quotes a level 3 Hostess Set. I stamped on the card front with Always Artichoke ink.

Let me know what you think of my card, I like to know what others think, how I can improve etc.

To purchase this card, click below: